Acurite Weather Station Mounting Guide
# Acurite Weather Station Mounting Guide
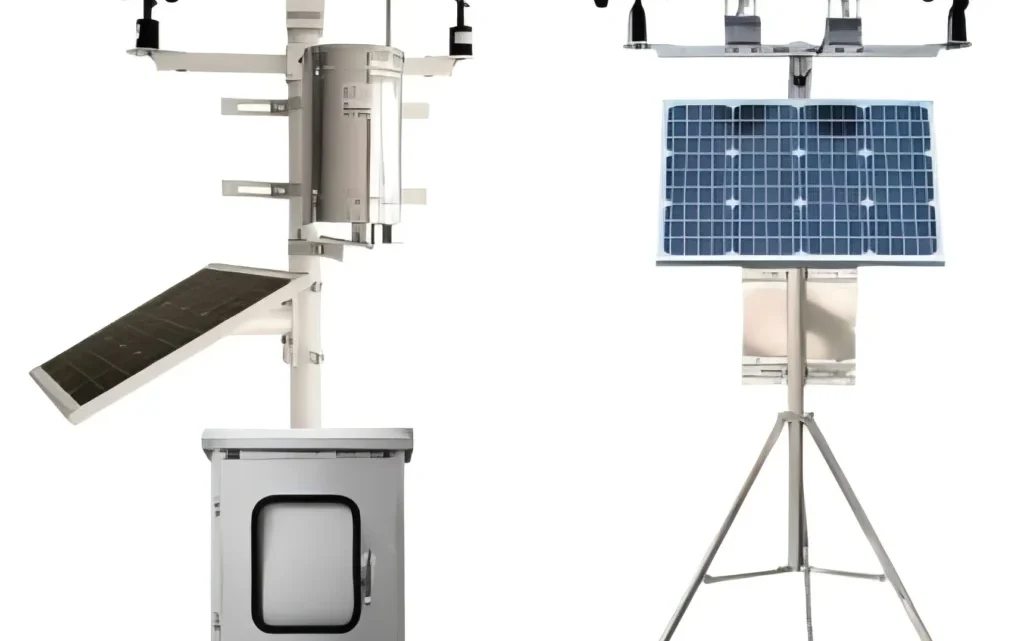
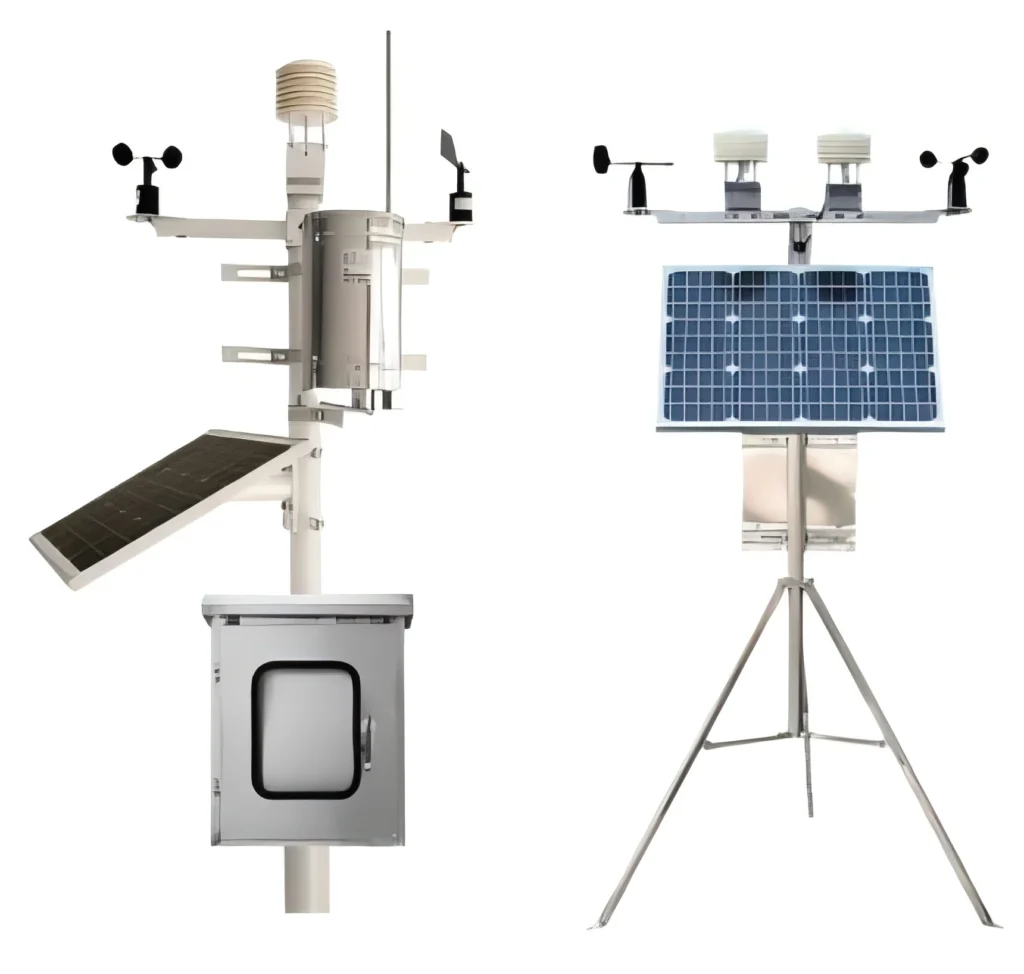
Mounting your Acurite weather station correctly is crucial for accurate weather readings. Whether you’re a weather enthusiast or just want to keep track of local conditions, proper installation ensures reliable data. This guide will walk you through the steps to mount your Acurite weather station effectively.
## Choosing the Right Location
Before mounting your Acurite weather station, it’s essential to select an appropriate location. The ideal spot should be:
– **Open and unobstructed**: Avoid areas near buildings, trees, or other structures that could block wind or sunlight.
– **Elevated**: Mount the station at least 5 feet above the ground to avoid ground interference.
– **Stable**: Ensure the mounting surface is sturdy and can withstand weather conditions.
## Tools and Materials Needed
To mount your Acurite weather station, you’ll need the following tools and materials:
– **Mounting bracket**: Usually included with the weather station.
– **Screws and anchors**: For securing the bracket to the mounting surface.
– **Drill**: To create pilot holes for the screws.
– **Level**: To ensure the station is mounted straight.
– **Ladder**: If mounting at a height.
## Step-by-Step Mounting Instructions
### Step 1: Assemble the Mounting Bracket
Start by assembling the mounting bracket according to the manufacturer’s instructions. Ensure all parts are securely fastened.
### Step 2: Mark the Mounting Points
Hold the bracket against the chosen mounting surface and mark the points where you’ll drill the pilot holes. Use a level to ensure the bracket is straight.
### Step 3: Drill Pilot Holes
Using a drill, create pilot holes at the marked points. This will make it easier to insert the screws and prevent the surface from splitting.
### Step 4: Secure the Bracket
Attach the bracket to the mounting surface using screws and anchors. Tighten the screws securely, but be careful not to overtighten and damage the bracket.
### Step 5: Attach the Weather Station
Once the bracket is securely in place, attach the Acurite weather station to the bracket. Ensure it is firmly attached and properly aligned.
### Step 6: Test the Installation
After mounting, test the weather station to ensure it is functioning correctly. Check the readings and make any necessary adjustments to the position.
## Maintenance Tips
To keep your Acurite weather station in optimal condition, follow these maintenance tips:
– **Regularly clean the sensors**: Dust and debris can affect accuracy.
– **Check for loose screws**: Periodically inspect the mounting bracket and tighten any loose screws.
– **Protect from extreme weather**: If possible, shield the station from severe weather conditions to prolong its lifespan.
By following this Acurite weather station mounting guide, you’ll ensure accurate and reliable weather data for years to come. Happy weather tracking!
Keyword: acurite weather station mounting